This page contains the last two sections of the build. Here we close up the bottom and top of the case.
All wiring should be completed before proceeding.
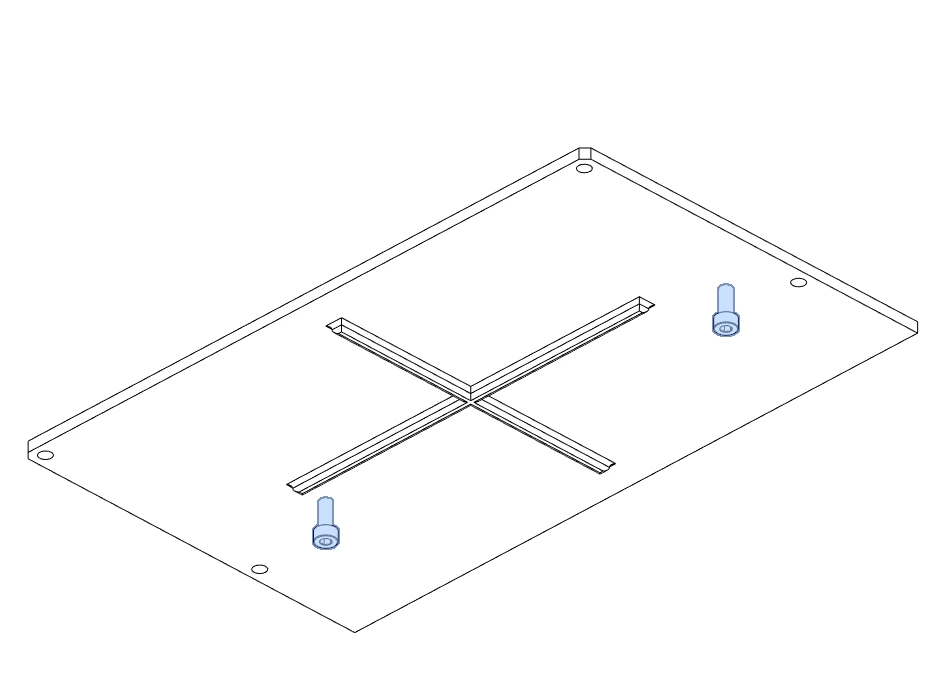
Bottom Panel
The example below uses a front and rear bottom panel. The procedure for installing a unified bottom panel is effectively the same uses the the same fasteners.
Overview
Materials
| Parts | Qty | Note |
|---|---|---|
| M3 x 6mm SHCS | 8 | |
Bottom Panel V3 - Hexagons Front.stl |
1 | |
Bottom Panel V3 - Hexagons Rear.stl |
1 |
Directions

Reference

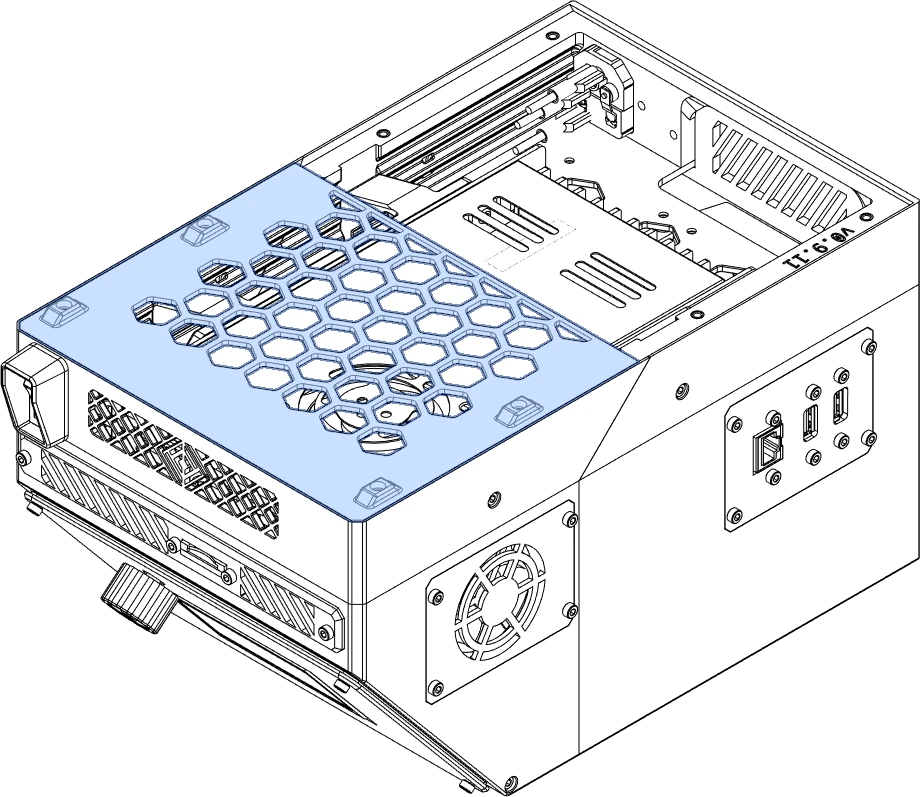
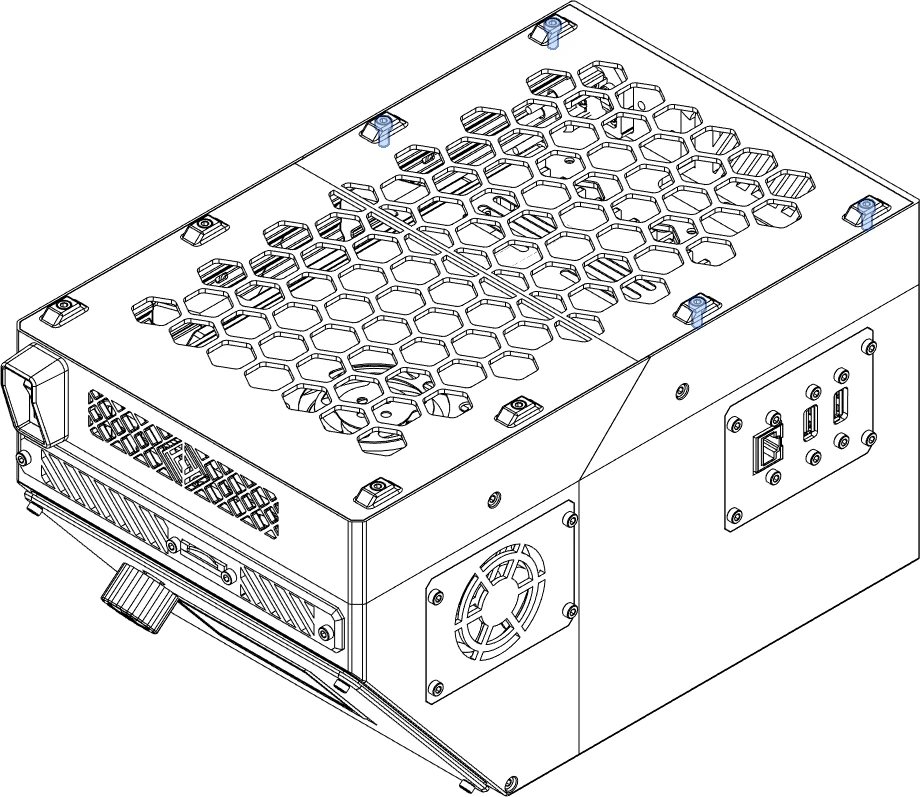
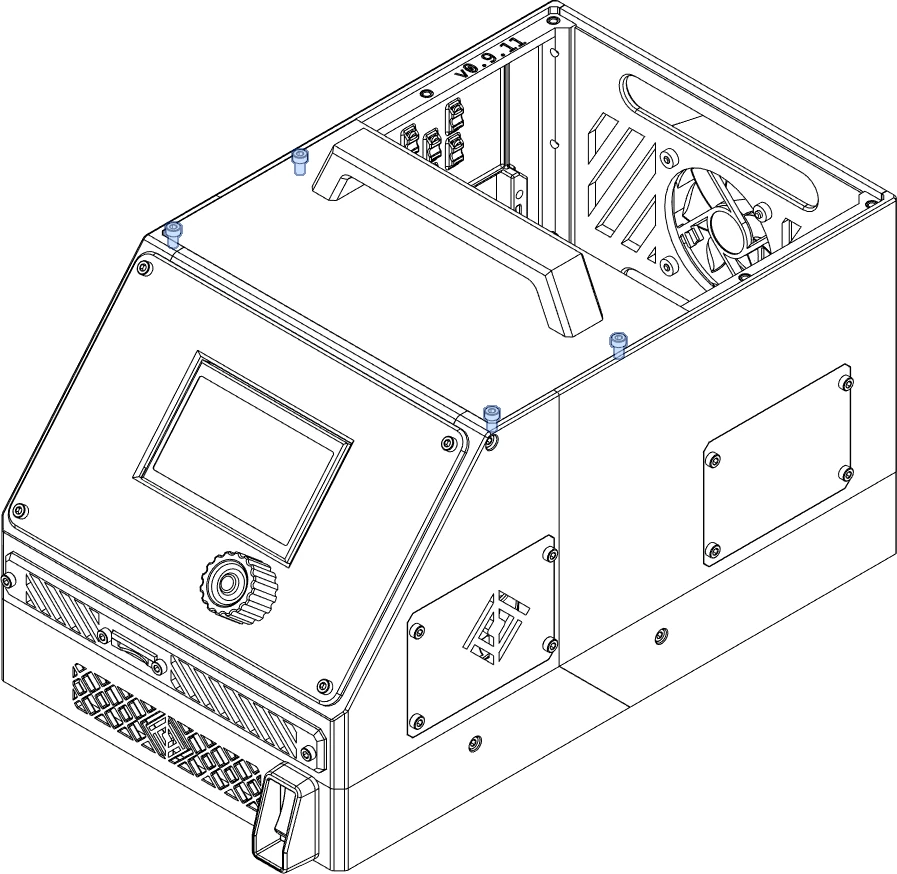
Lid(s)
The example below uses two short lids. The procedure for installing a single, long lid is effectively the same and requires no additional fasteners.
Overview
Materials
| Parts | Qty | Note |
|---|---|---|
| M3 x 6mm SHCS | 10 | |
| Lid - Short Vent.stl | 1 | |
| Half Carry Lid.stl | 1 | |
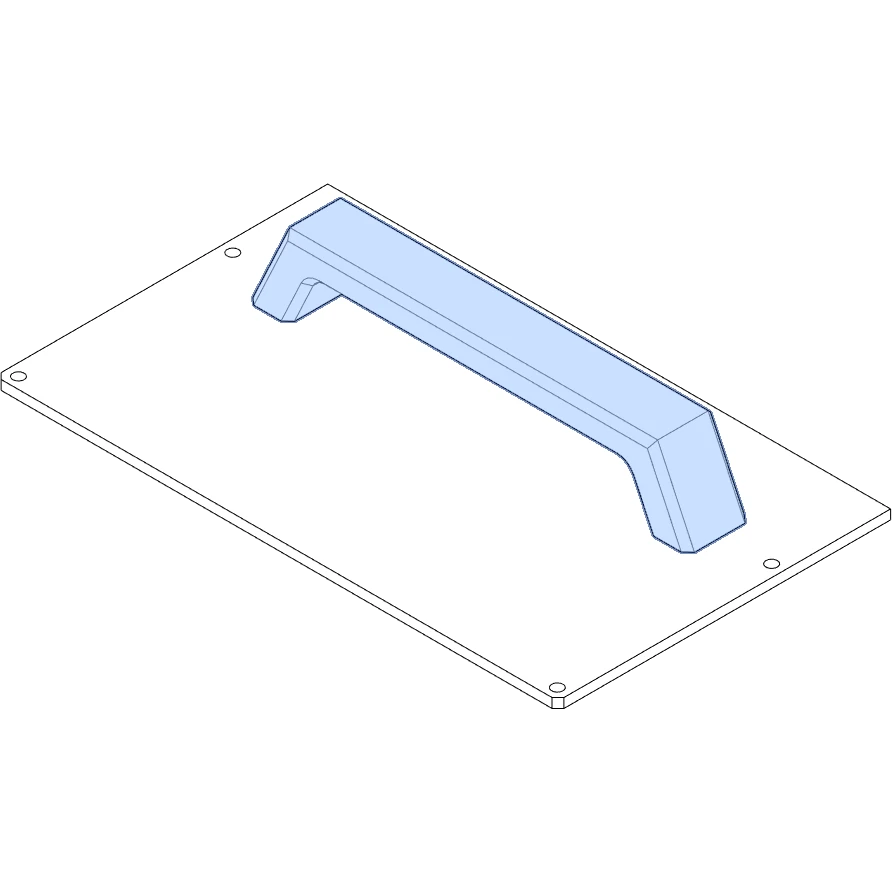
| Carry Handle - HSI.stl | 1 |
| Parts | Qty | Note |
|---|---|---|
| M3 x 8mm SHCS | 10 | |
| Lid - Short Vent.stl | 1 | |
| Half Carry Lid.stl | 1 | |
| Carry Handle - HSI.stl | 1 |
Directions
HSI: M3 x 6mm
Stock: M3 x 8mm

HSI: M3 x 6mm
Stock: M3 x 8mm

Reference

That's it!
You built an OmniBox! Congratulations!
