PSU
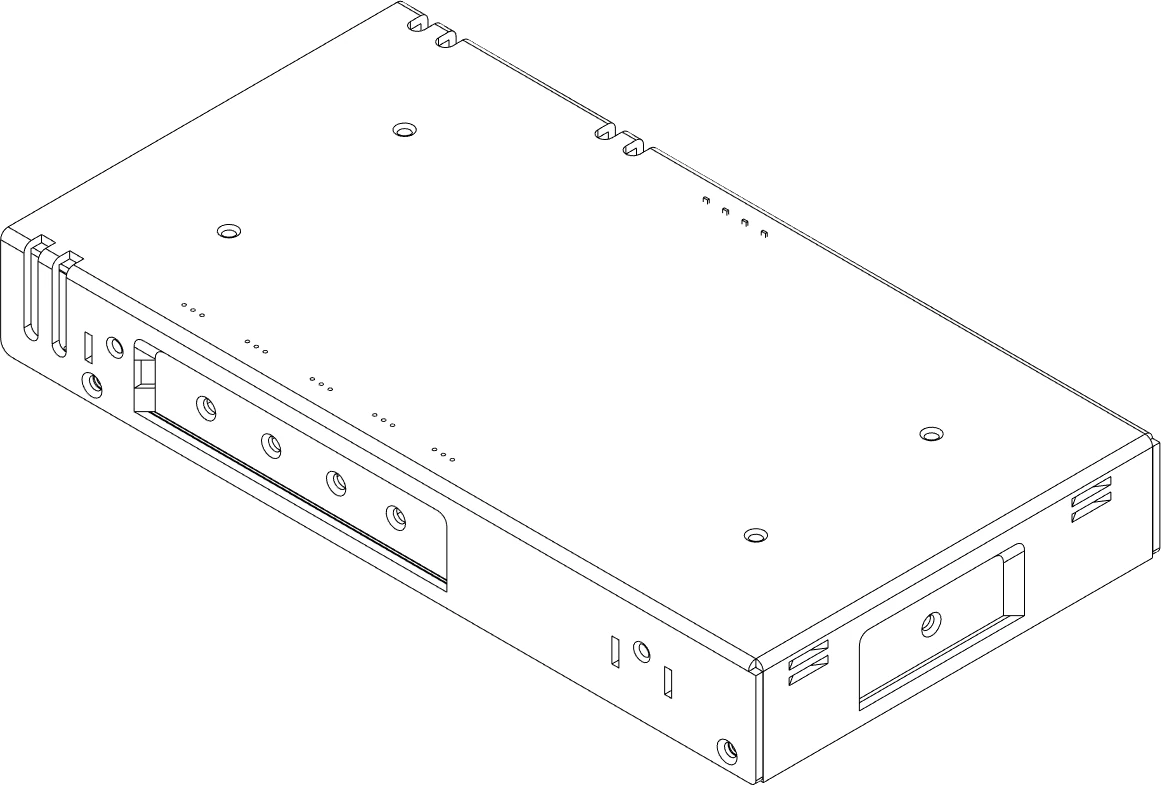
PSU Tray
Overview
Materials
| Parts | Qty | Note |
|---|---|---|
| M4 x 6mm SHCS | 4 | No longer than 8mm. |
| Mean Well LRS-350-24 | 1 | |
PSU Mount - LRS-350 - Left HSI.stl |
1 | |
PSU Mount - LRS-350 - Right HSI.stl |
1 |
| Parts | Qty | Note |
|---|---|---|
| M4 x 6mm SHCS | 4-8 | No longer than 8mm. |
| Compatible power supply | 1 | |
| Left PSU mount | 1 | |
| Right PSU mount | 1 |
Directions
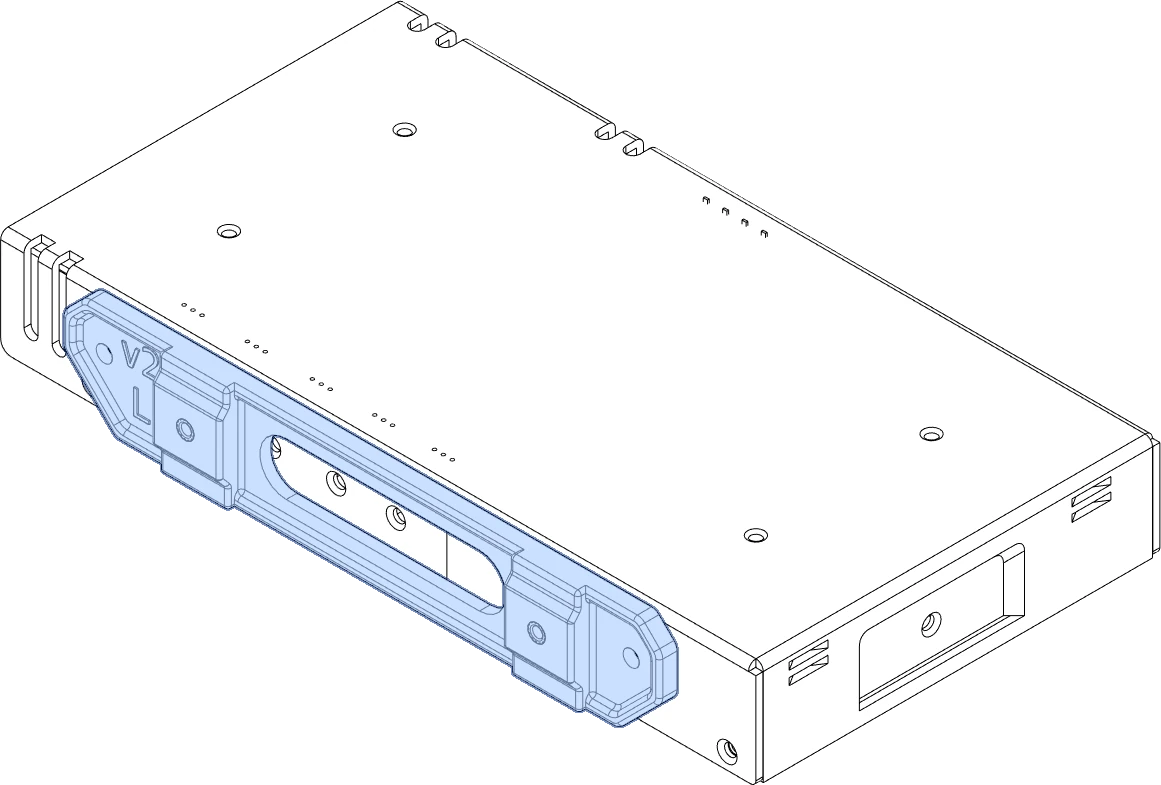
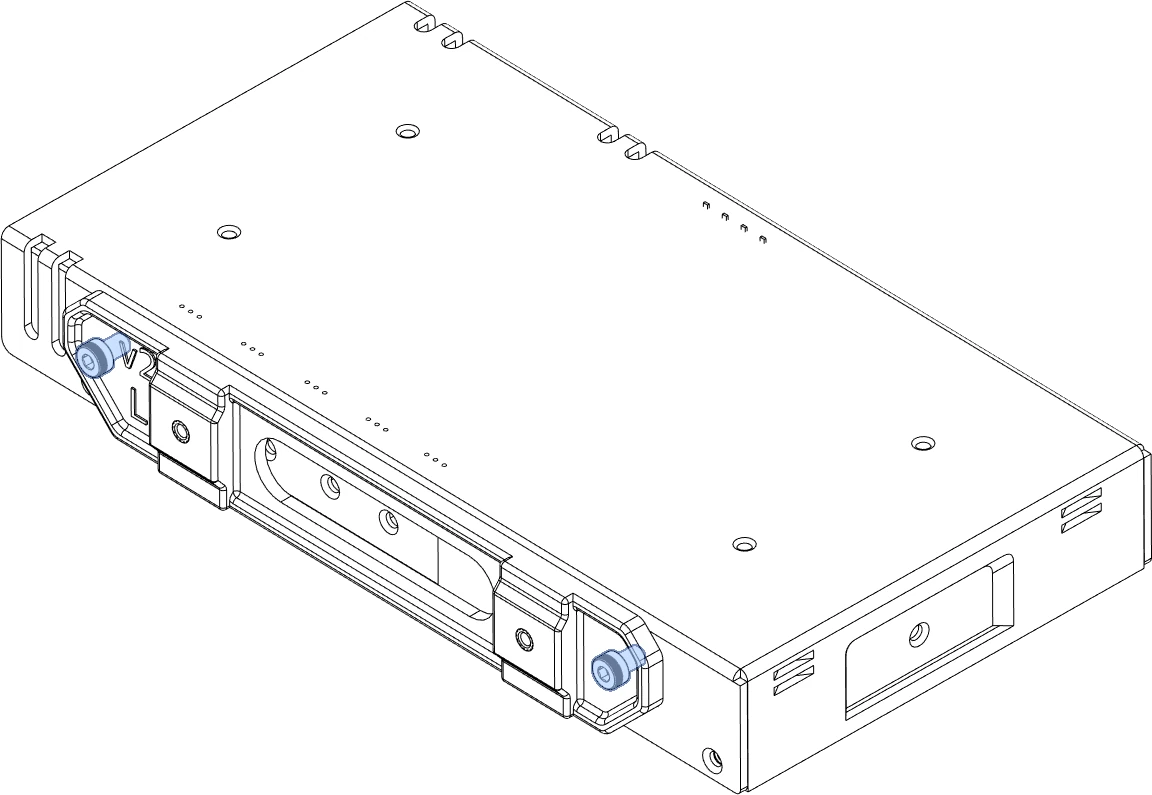
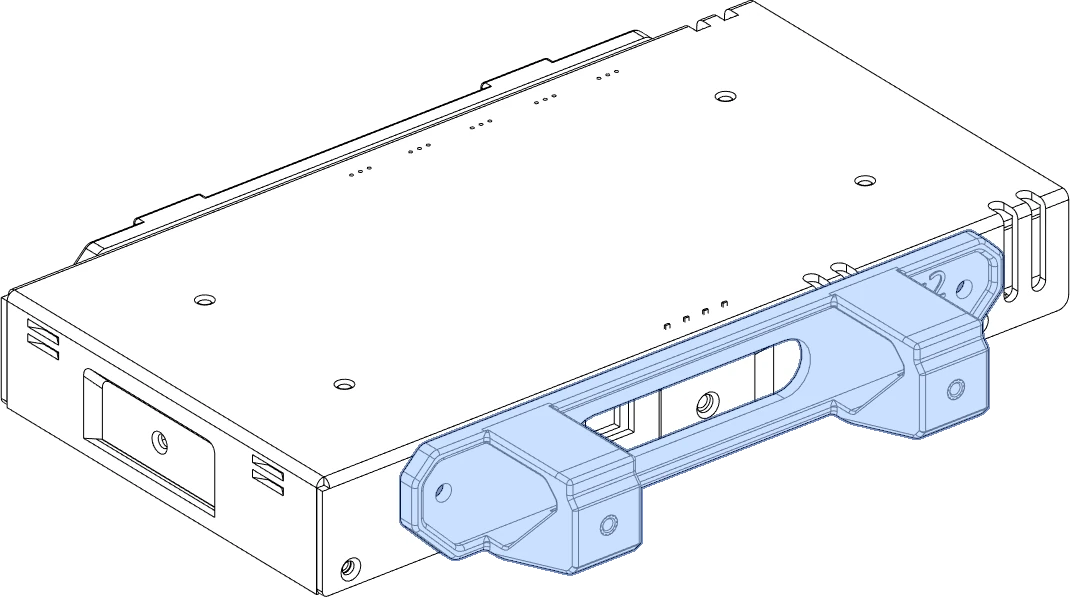

Reference

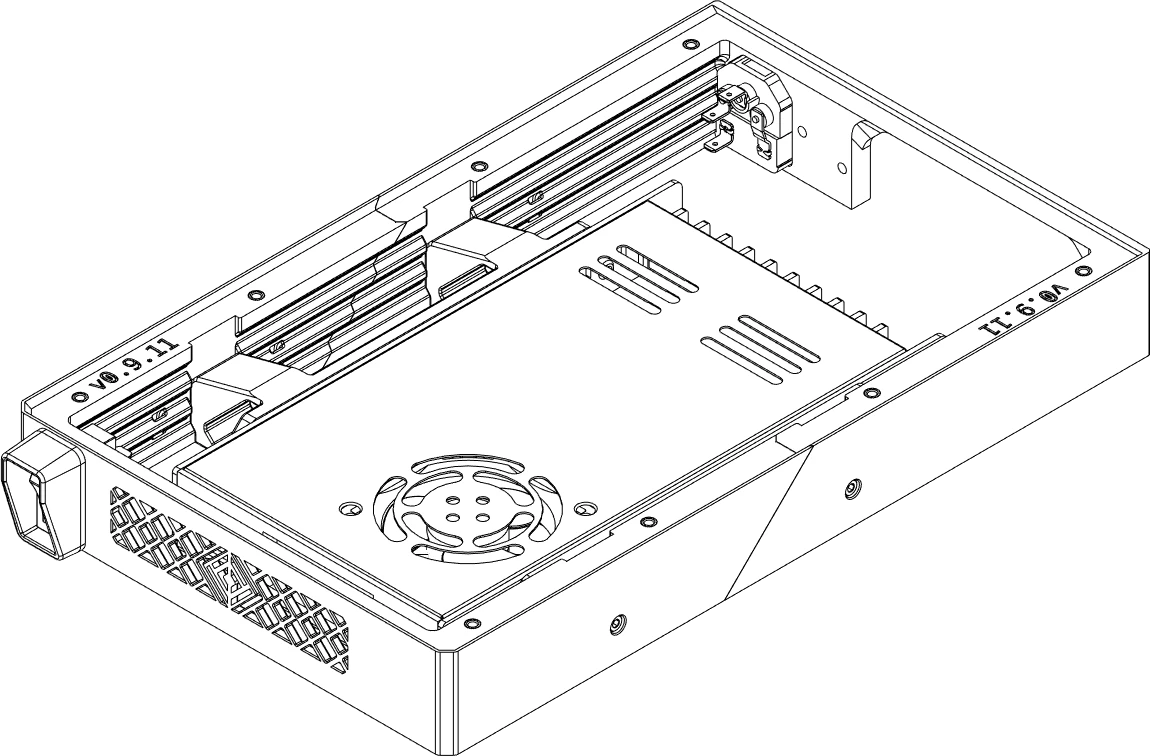
Install PSU
Overview
Materials
| Parts | Qty | Note |
|---|---|---|
| M3 x 12mm SHCS | 4 |
Directions


We want the terminals accessible when the case is turned upside-down.
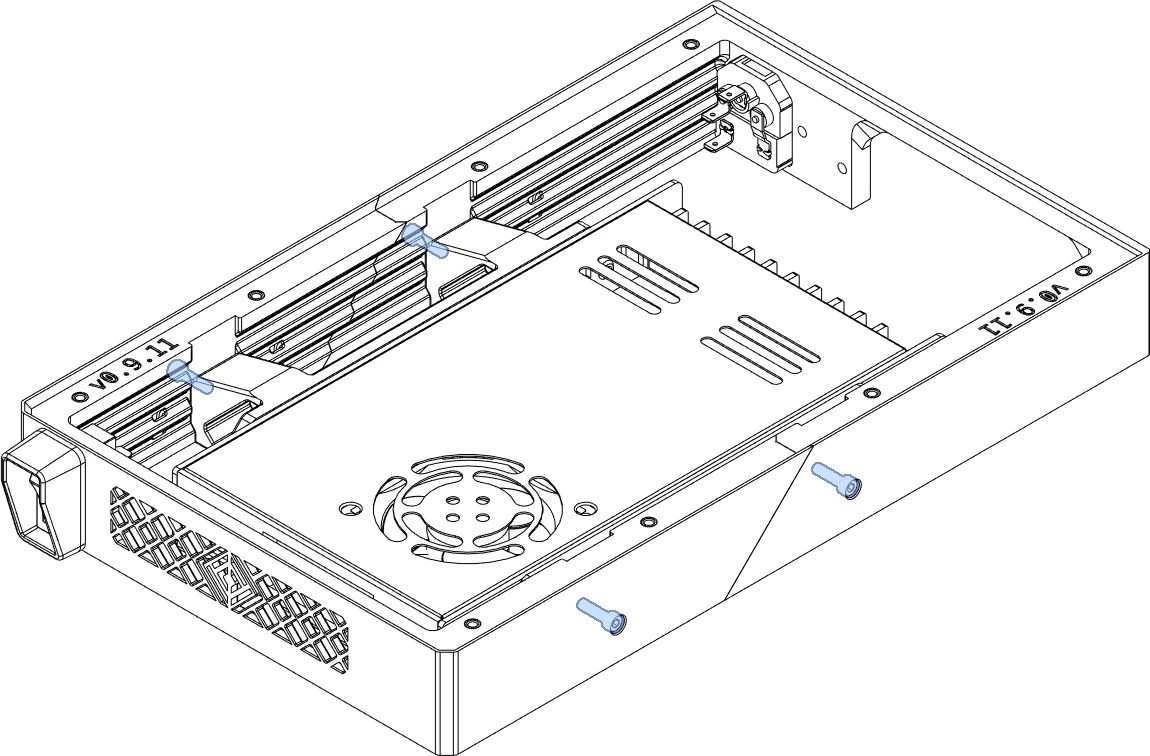
Note: Button head screws will not fit.
Reference