HSI Introduction & Tips
Time
Installation time varies by experience and total number of inserts. The "Full HSI" build has twenty-four (24) more inserts than a standard HSI build.
Installing an insert takes a few seconds, but allow yourself plenty of time to properly check that each insert is straight and flush.
Additional Materials
- Soldering iron
- M3 heat set insert tip for soldering irons
- Fine tweezers
- M3 x 16mm or longer screw
Practice Block
If you are using inserts for the first time, print at least one practice block. Experience with inserts saves time and lowers the chances of damaging printed parts.
These blocks have holes in two orientations: flat and canted at a 50 degree angle (the angle of the display panels). Practice setting inserts until comfortable with the procedure.
Procedure
Setup
- Install the M3 insert tip on your soldering iron.
- Pre-heat the iron to a low temperature (200C is fine for both PLA and PETG).
- Allow enough time for your iron to heat up. A 40W iron may need up to two minutes.
Installation
Note
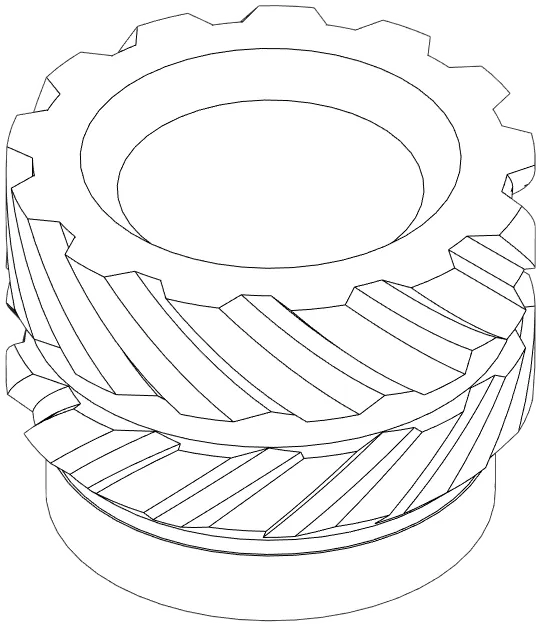
 These inserts have a rounded lip on one side. This end "sits" in the hole and maintains alignment with the hole during heating and insertion.
Warning
Installing an insert leaves both the insert and surrounding plastic hot for several minutes.
Avoid touching areas of the case around an insert until it has cooled.
- Pre-set an insert into the hole using your fingers or tweezers. It should fit in to the first set of knurles (or pop in place with some pressure).
- Place the tip of the soldering iron on the insert. Allow one (1) to two (2) seconds to heat the insert.
- Apply gentle pressure with the iron. The surrounding plastic should behave like a tacky fluid.
- Stop and remove the iron once the insert is flush with the surface or just below.
- Check if the insert is off-center by looking for gaps around the edges. The plastic should be evenly melted around the insert.
- If the insert needs adjustment, gently use tweezers or a long M3 screw to straighten it (while still hot). See below if the insert cools.
Fixing a Cooled Insert
Sometimes an off-center insert is not discovered until later. The most common symptom is a squealing noise when inserting screws. If this happens, back out the screw and try again; the screw may be threading at an angle. If this does not correct the issue, stop assembly to fix the insert.
- Preheat the soldering iron to a low temperature.
- Set the iron's tip on the insert, but do not press down.
- Allow two (2) to three (3) seconds for the insert to heat.
- Take an M3 x 16mm or longer machine screw and thread one (1) or two (2) turns into the insert.
- Use the screw to straighten the insert before the plastic cools around it.