Lower Bay Trays
Overview
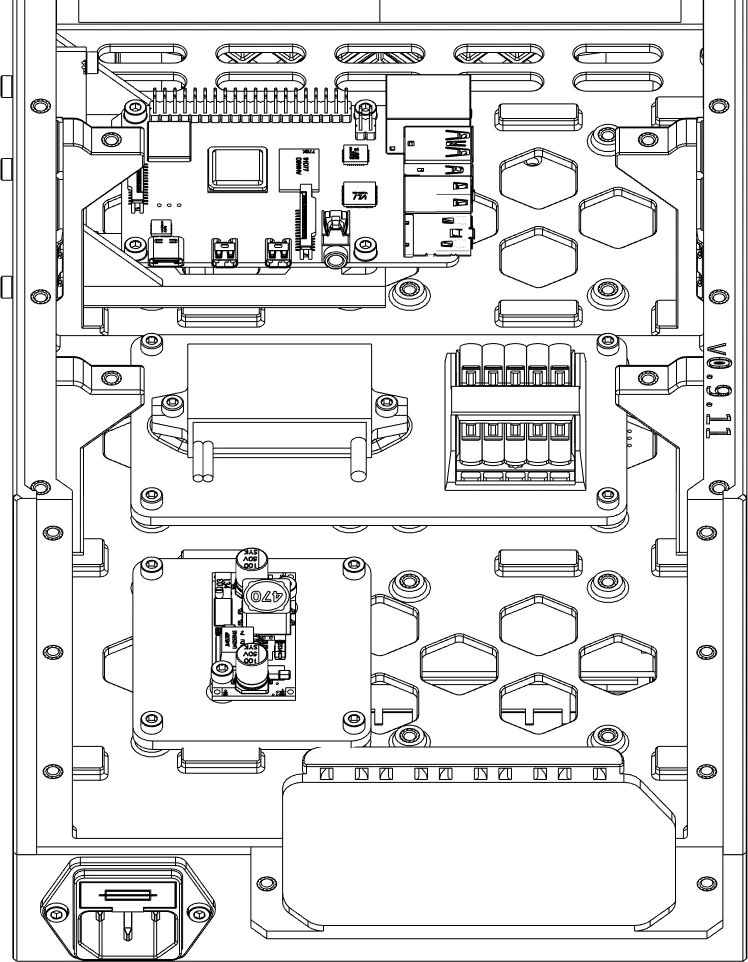
Lower bay trays can be mounted in one of six (6) locations for short trays and one of three (3) locations for long trays. This flexibility is useful when planning ahead (e.g., a buck converter can be located near the device it powers for shorter wiring).
Overview
Long Trays
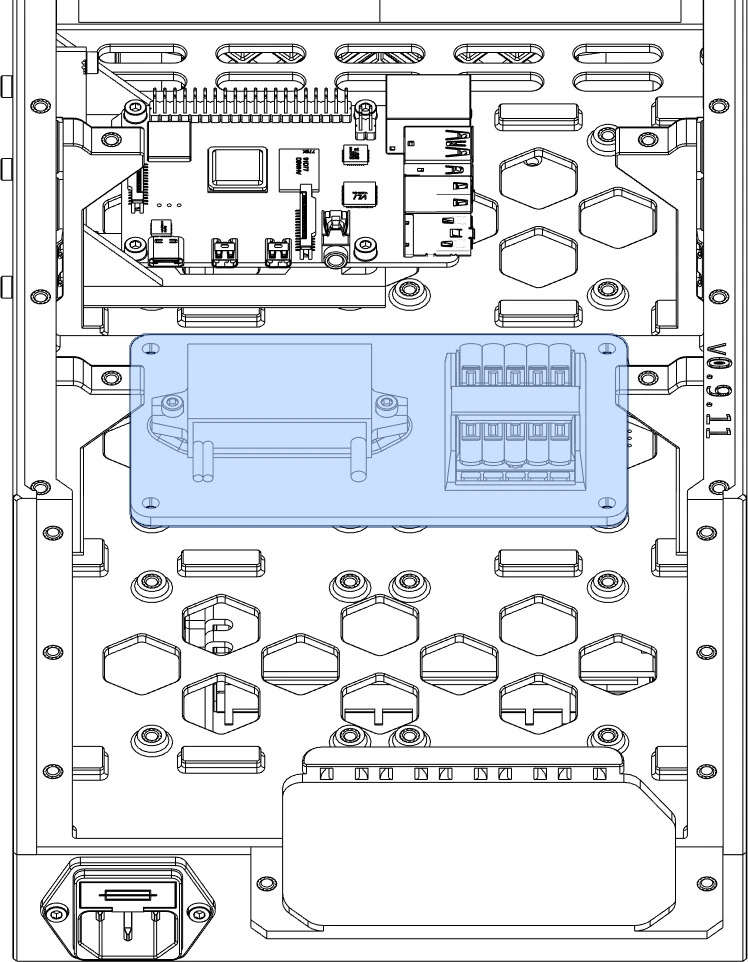
Long trays can be mounted in the front, middle, or back of the lower bay. They can only be mounted with the long side oriented side-to-side.
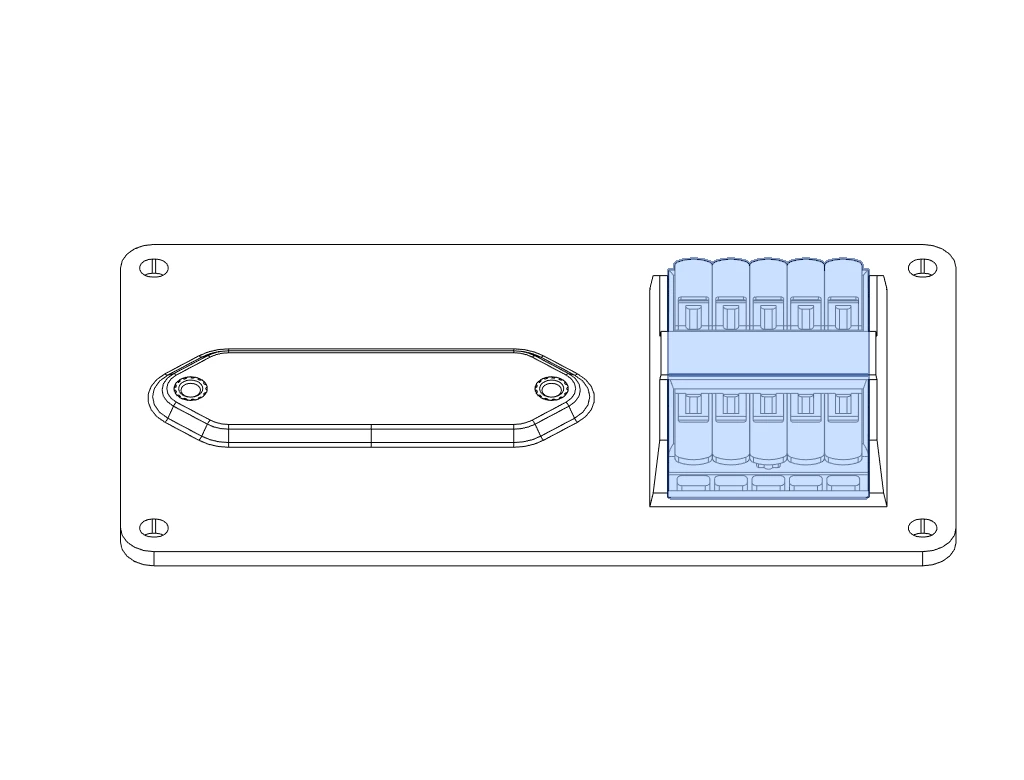
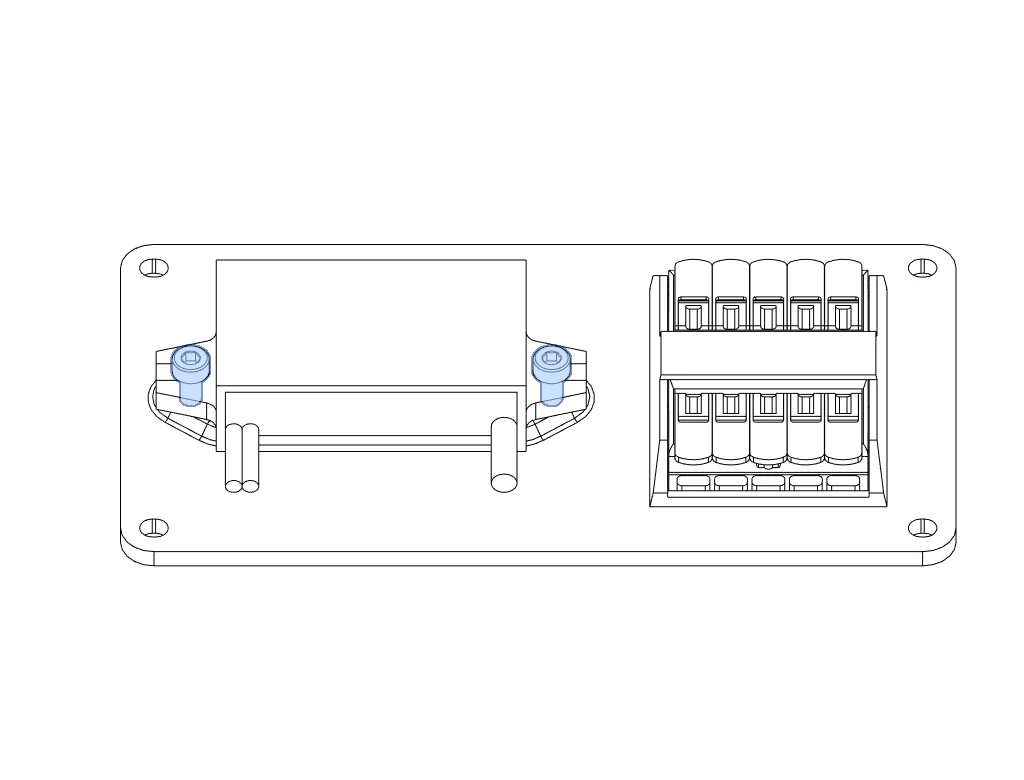
As an example of a Long tray, we'll install a buck converter for the Raspberry Pi and a pair of 5 position Wago connectors.
Materials
| Parts | Qty | Note |
|---|---|---|
| M3 x 6mm machine screws | 6 | |
| Wago 221-415 Lever Nuts | 2 | |
| SSLHONG 5V/3A Buck Converter with USB C | 1 | |
Lower Bay Tray - SSLHONG Buck - Long - HSI.stl |
1 |
Directions

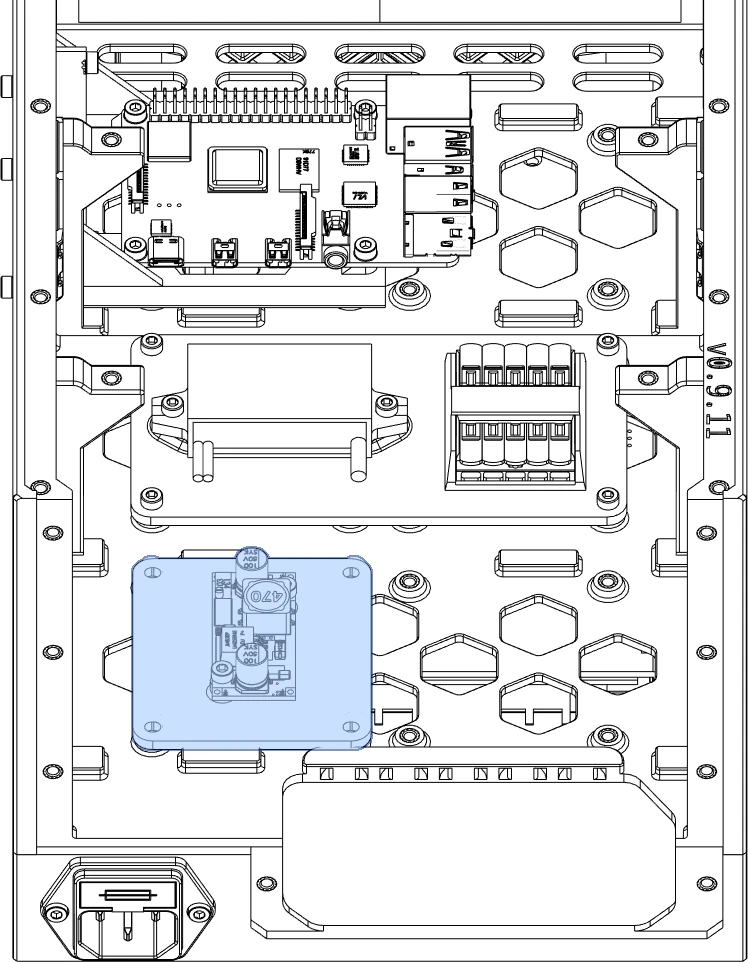
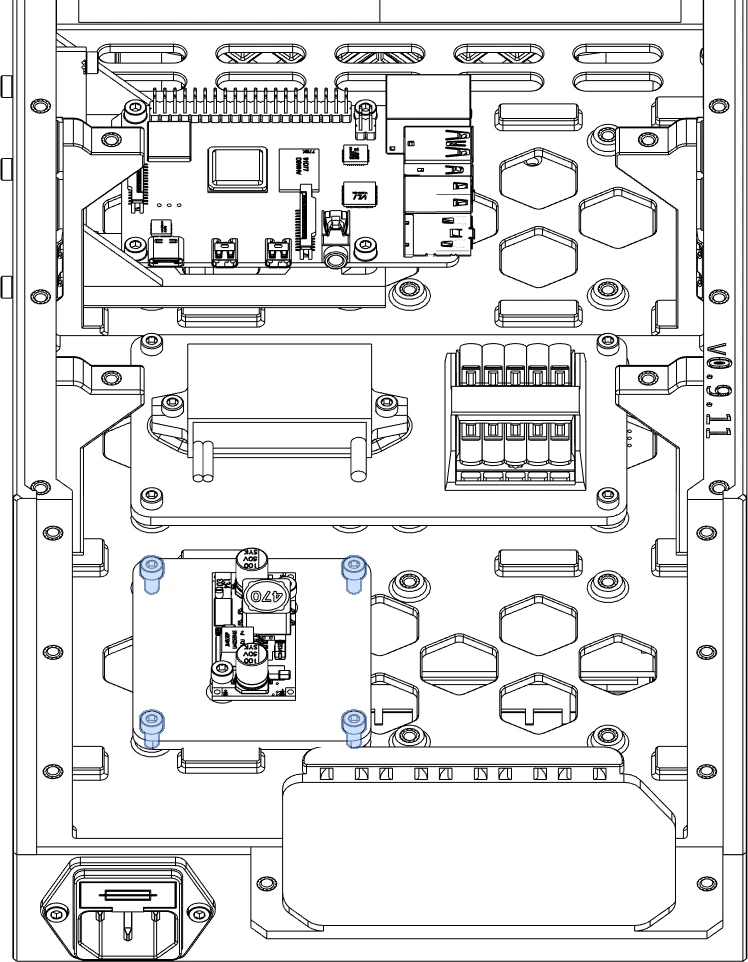
Short Trays
Short trays can be mounted in any one of six (6) locations in the lower bay. Short trays do not always fit next to an occupied CPU bay.
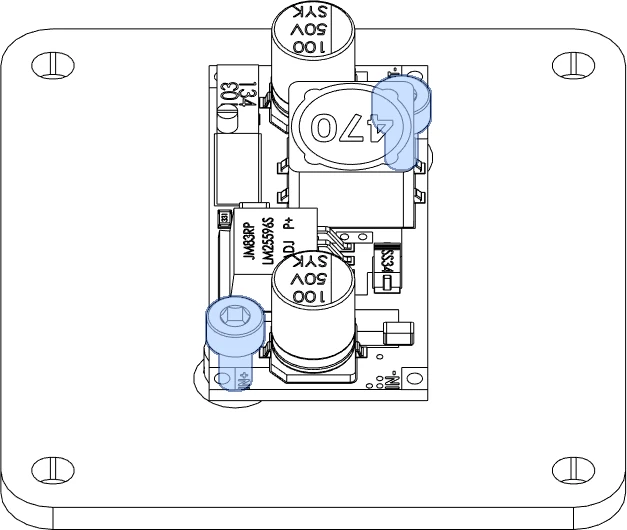
In the example below, we'll install another buck converter on a short tray.
Materials
| Parts | Qty | Note |
|---|---|---|
| M3 x 6mm machine screws | 6 | |
| LM2596 Buck Converter | 1 | |
Lower Bay Tray - Generic LM2596 - Short Single Tray.stl |
1 |
Directions
Reference