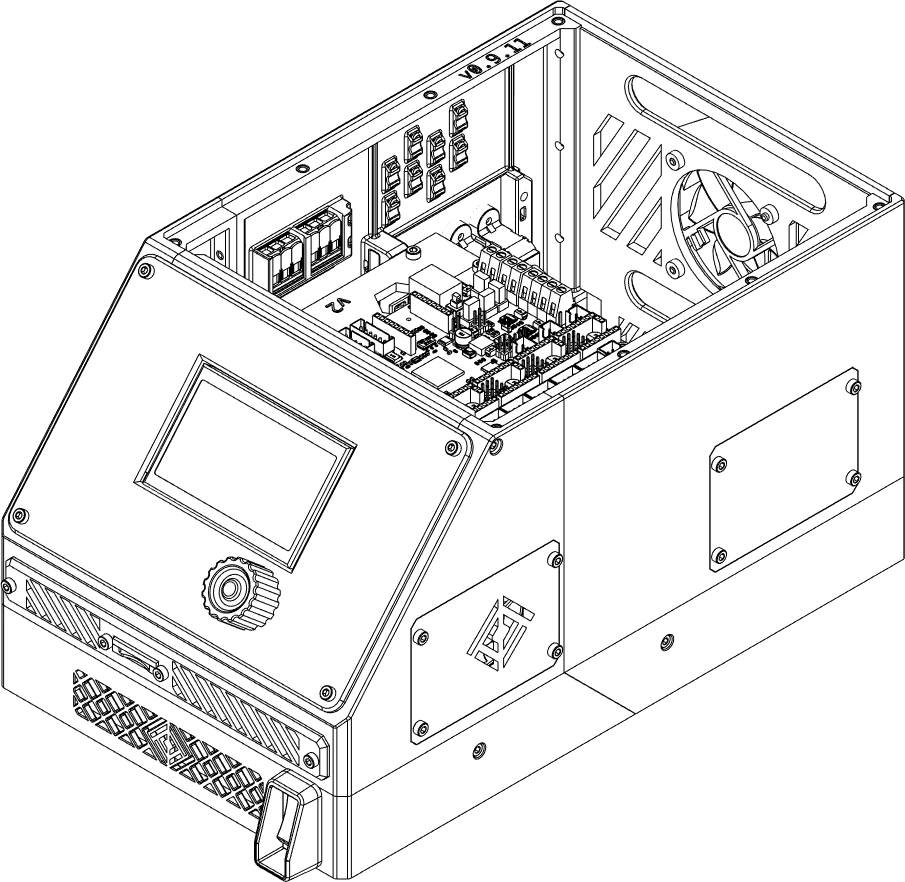
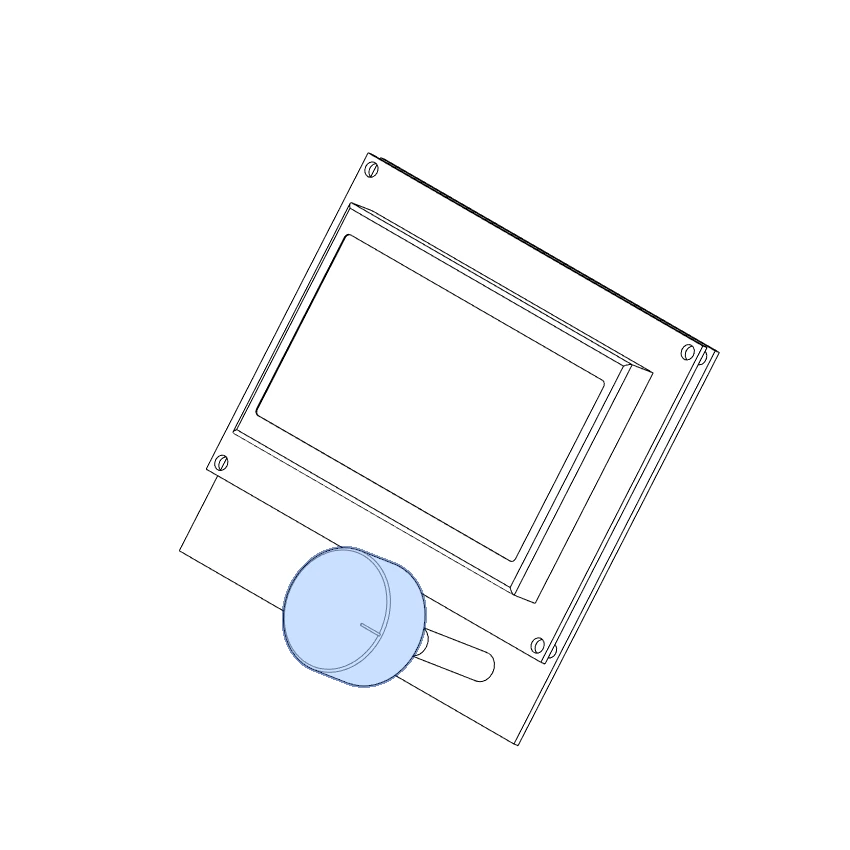
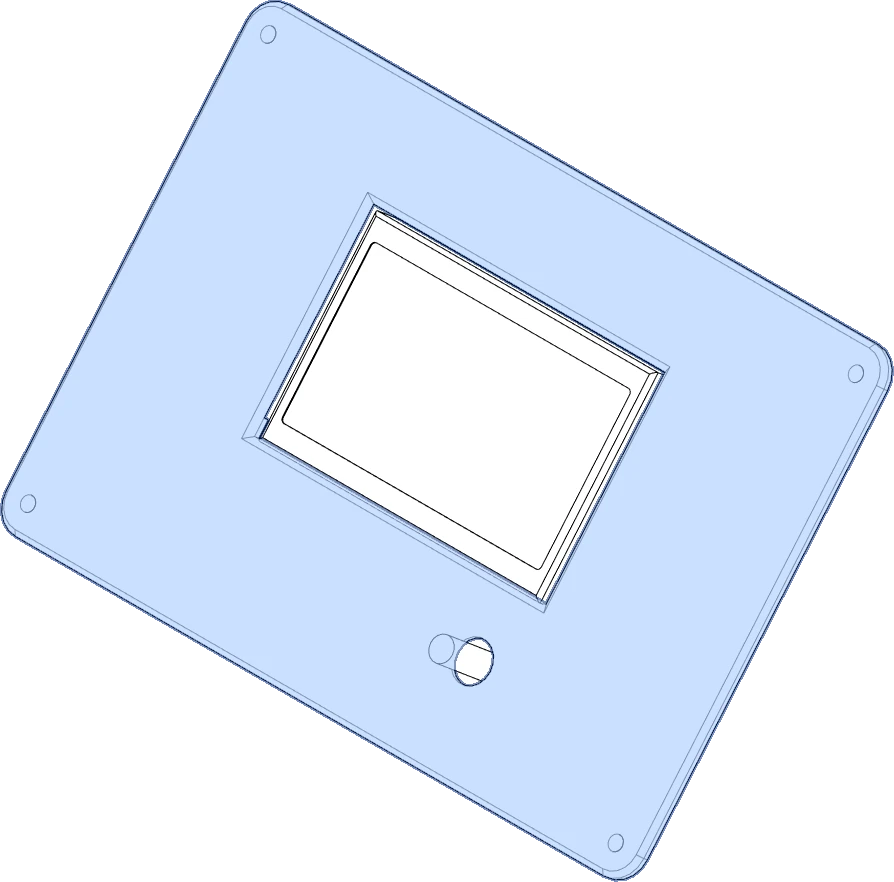
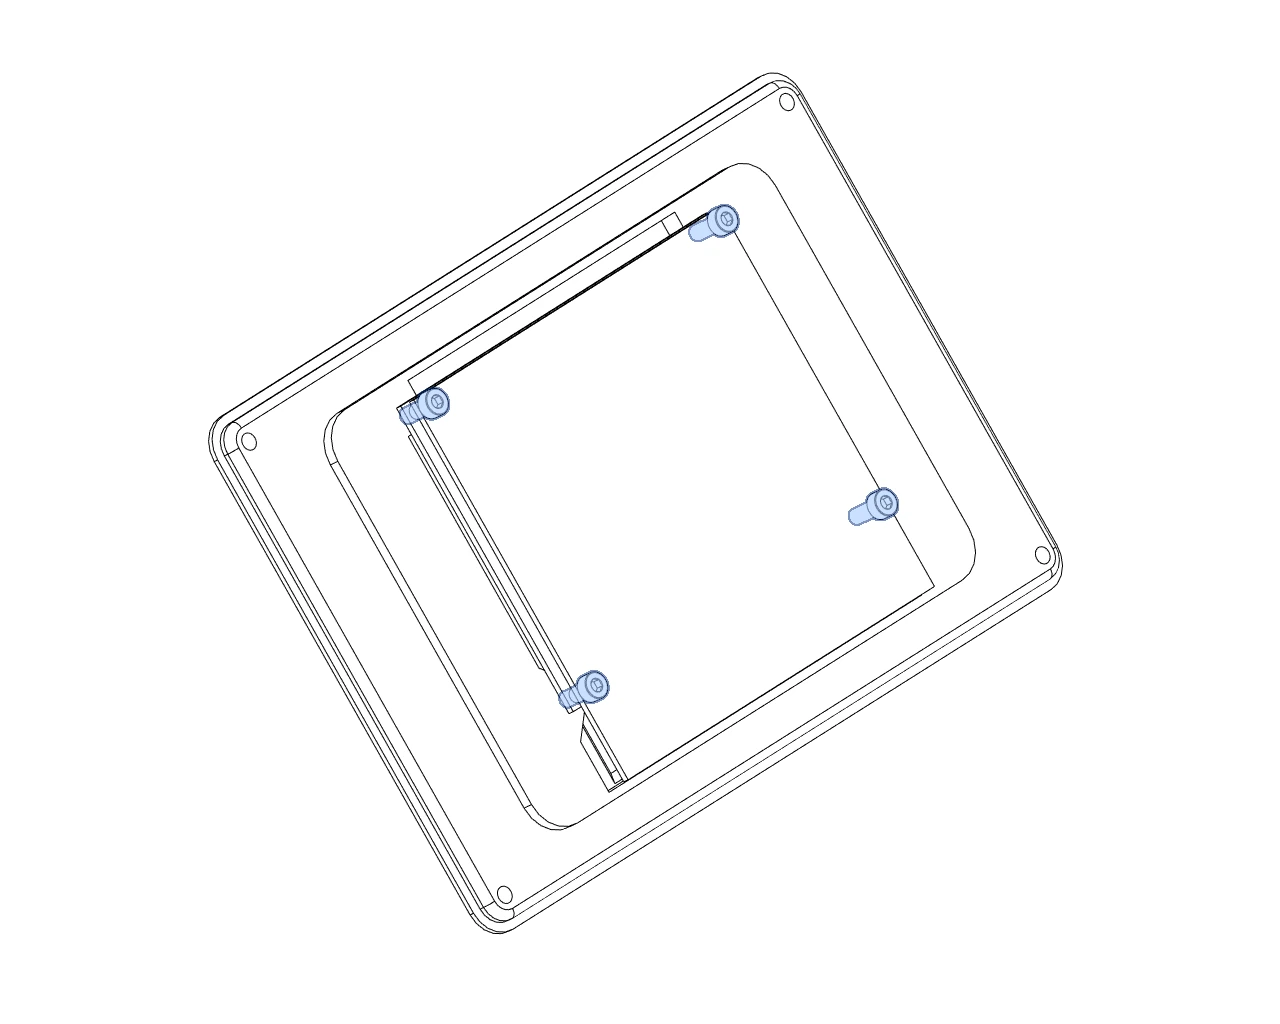
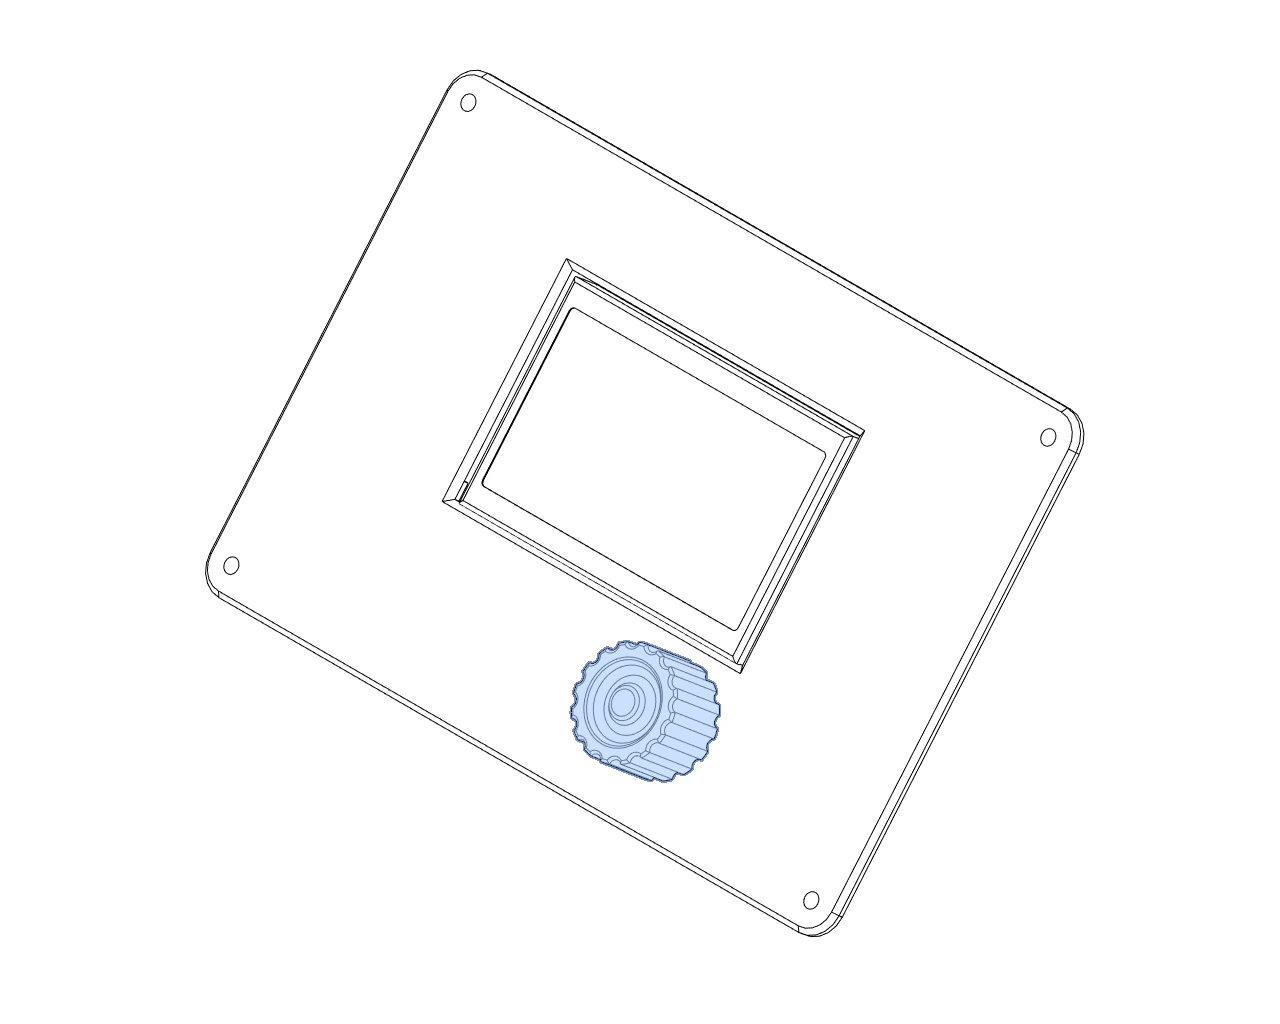
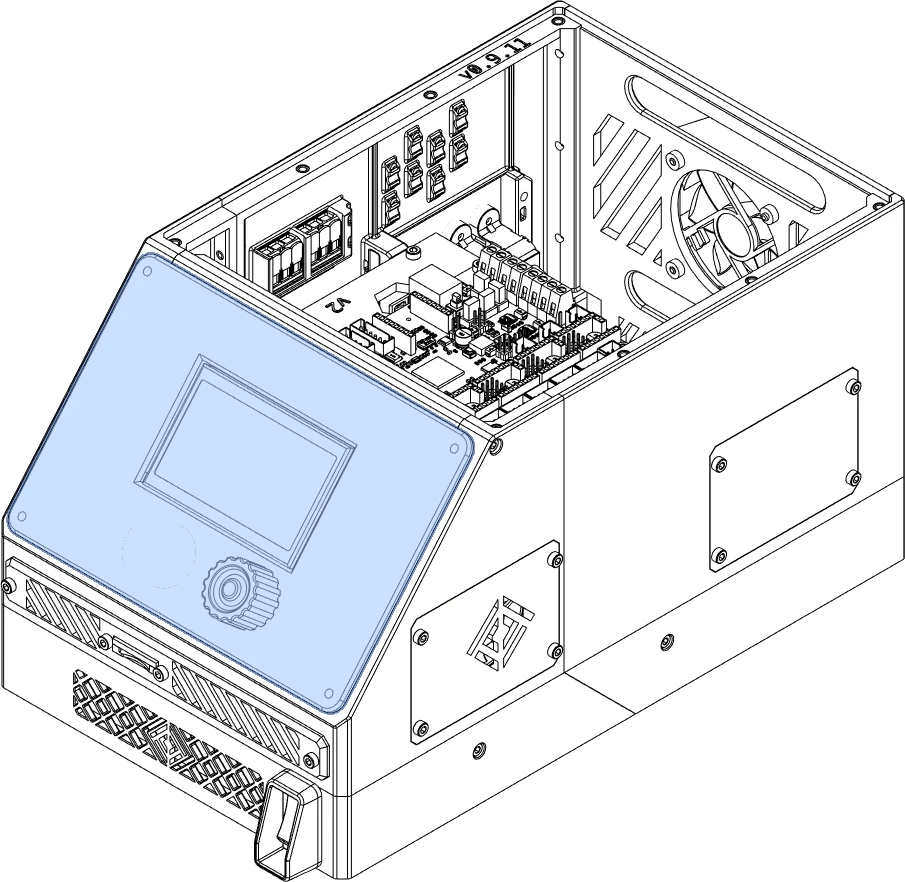
Display Panel
This section covers assembling a generic 12864 display panel, like the kind commonly found on Sovol and older Creality Ender-series printers.
Some displays have an extra step of mounting the display to a cover. The cover then attaches to the panel. Other than this, the installation process remains the same.
Overview
Materials
| Parts | Qty | Note |
|---|---|---|
| M3 x 6mm SHCS | 4 | |
| M3 x 8mm SHCS | 4 | May substitute 10 or 12mm. |
| Generic 128x64 Display | 1 | |
Display Panel - Generic 12864.stl |
1 | |
Display Knob.stl |
1 | Optional. |
| Parts | Qty | Note |
|---|---|---|
| M3 x 6mm SHCS | 4 | |
| M3 x 10mm SHCS | 4 | May substitute 12mm. |
| Generic 128x64 Display | 1 | Comes with older Creality printers. |
Display Panel - Generic 12864.stl |
1 | |
Display Knob.stl |
1 | Optional. |
| Parts | Qty | Note |
|---|---|---|
| M3 x 8mm SHCS | 4 | |
Display Panel - Blank V3.stl |
1 |
| Parts | Qty | Note |
|---|---|---|
| M3 x 10mm SHCS | 4 | May substitute 12mm. |
Display Panel - Blank V3.stl |
1 |
Directions

HSI: M3 x 8mm
Stock: M3 x 10mm
Reference