MCU Tray
MCU Installation
Overview
Overview
Materials
| Parts | Qty | Note |
|---|---|---|
| M3 x 6mm machine screws | 8 | |
| BIGTREETECH SKR 3 | 1 | |
MCU Tray - BTT SKR v2 - HSI.stl |
1 |
| Parts | Qty | Note |
|---|---|---|
| M3 x 6mm machine screws | 4 | |
| M3 x 8mm machine screws | 4 | |
| BIGTREETECH SKR 3 | 1 | |
MCU Tray - BTT SKR v2.stl |
1 |
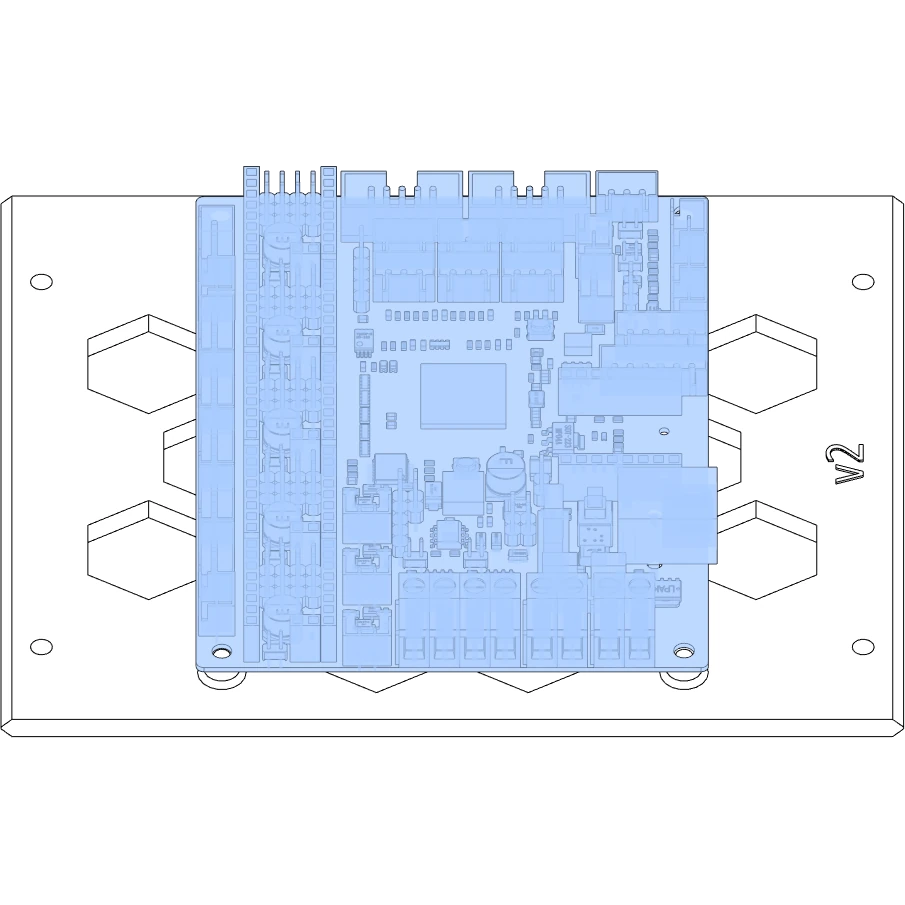
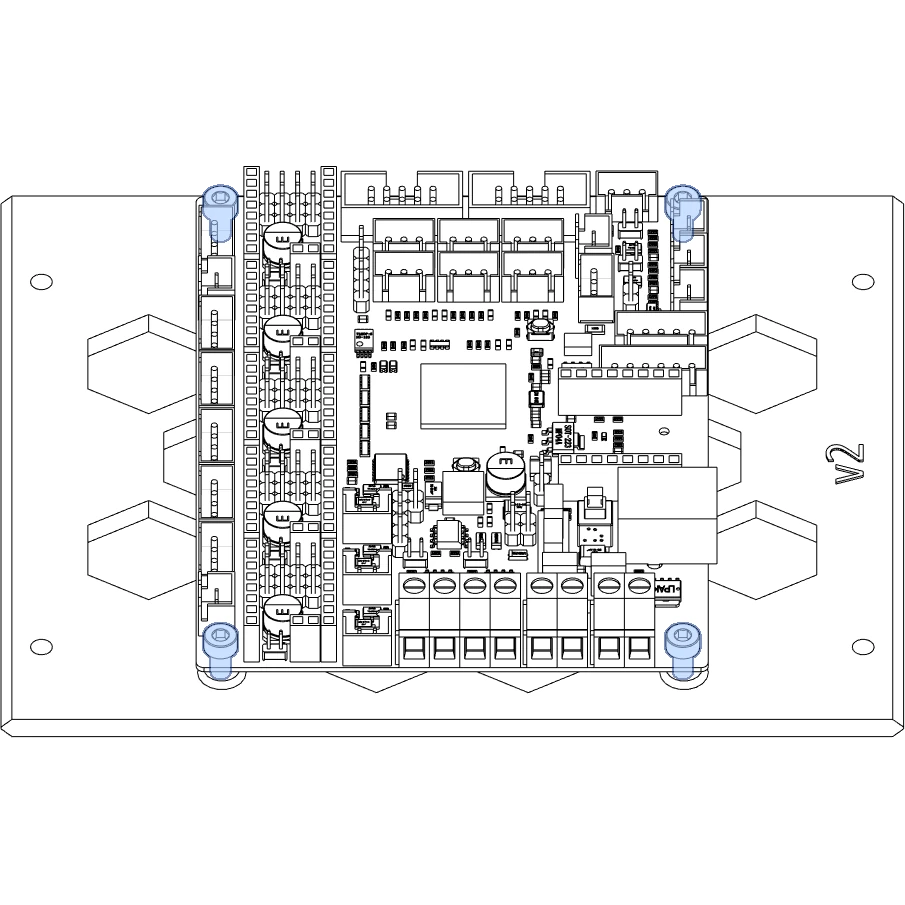
Directions
Important
Larger trays (e.g. the BIGTREETECH Octopus series or the Manta M8P) will only fit in the case if the board is oriented one way, as the trays are not symmetrical. Check which direction fits in the case before securing the MCU to the tray.


Reference
