Front Panel
Overview
Materials
| Parts | Qty | Note |
|---|---|---|
| M3 x 6mm SHCS | 4 | |
| M3 x 8mm SHCS | 2 | |
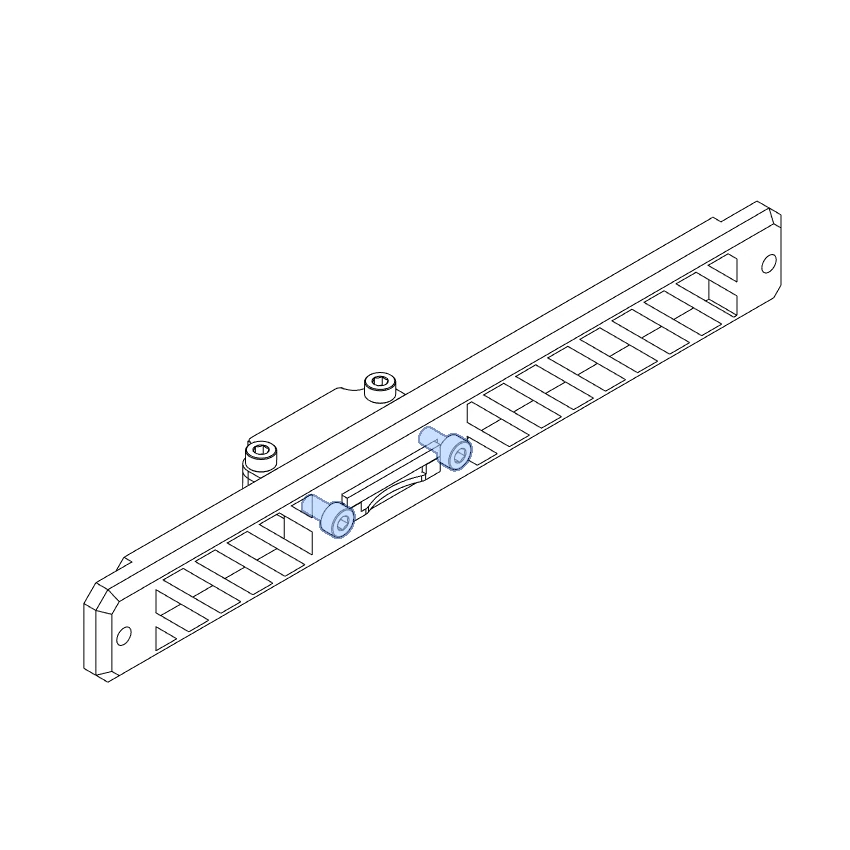
Front Panel - MicroSD, Slats.stl |
1 | |
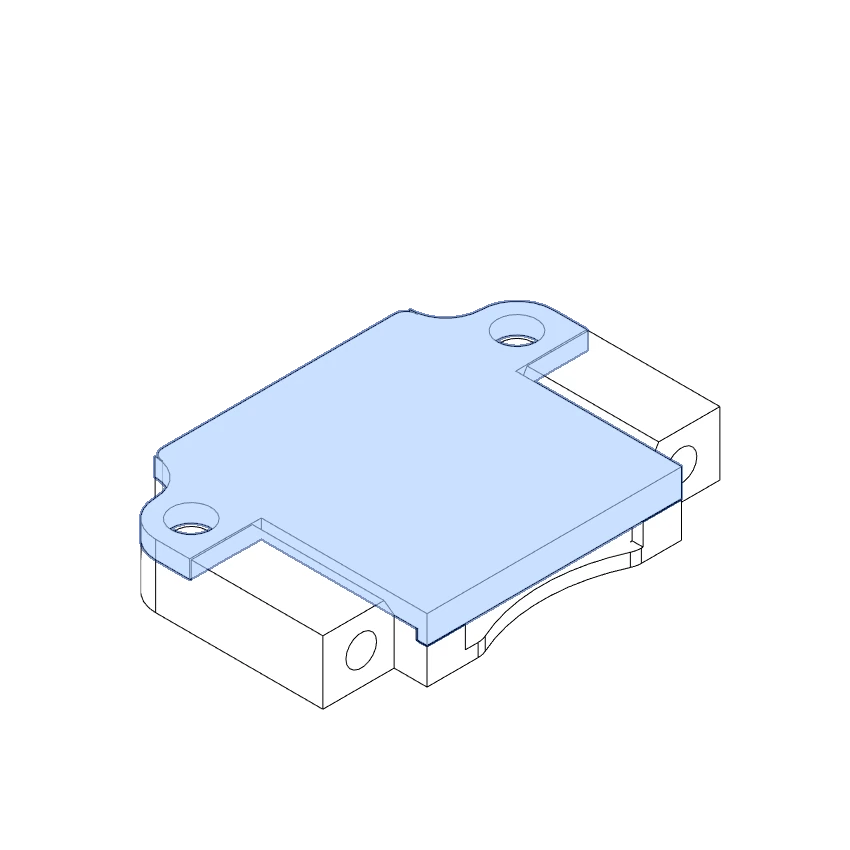
MicroSD Extension Holder Body.stl |
1 | |
MicroSD Extension Holder Cap.stl |
1 |
| Parts | Qty | Note |
|---|---|---|
| M3 x 6mm SHCS | 4 | |
| M3 x 10mm SHCS | 2 | May substitute 12mm or longer. |
Front Panel - MicroSD, Slats.stl |
1 | |
MicroSD Extension Holder Body.stl |
1 | |
MicroSD Extension Holder Cap.stl |
1 |
| Parts | Qty | Note |
|---|---|---|
| M3 x 8mm SHCS | 2 | |
Front Panel - Blank.stl |
1 |
| Parts | Qty | Note |
|---|---|---|
| M3 x 10mm SHCS | 2 | May substitute 12mm. |
Front Panel - Blank.stl |
1 |
Note: LED Backing Panel
If are installing the LED backer, substitute M3 x 16mm for the two (2) longer screws.
Directions


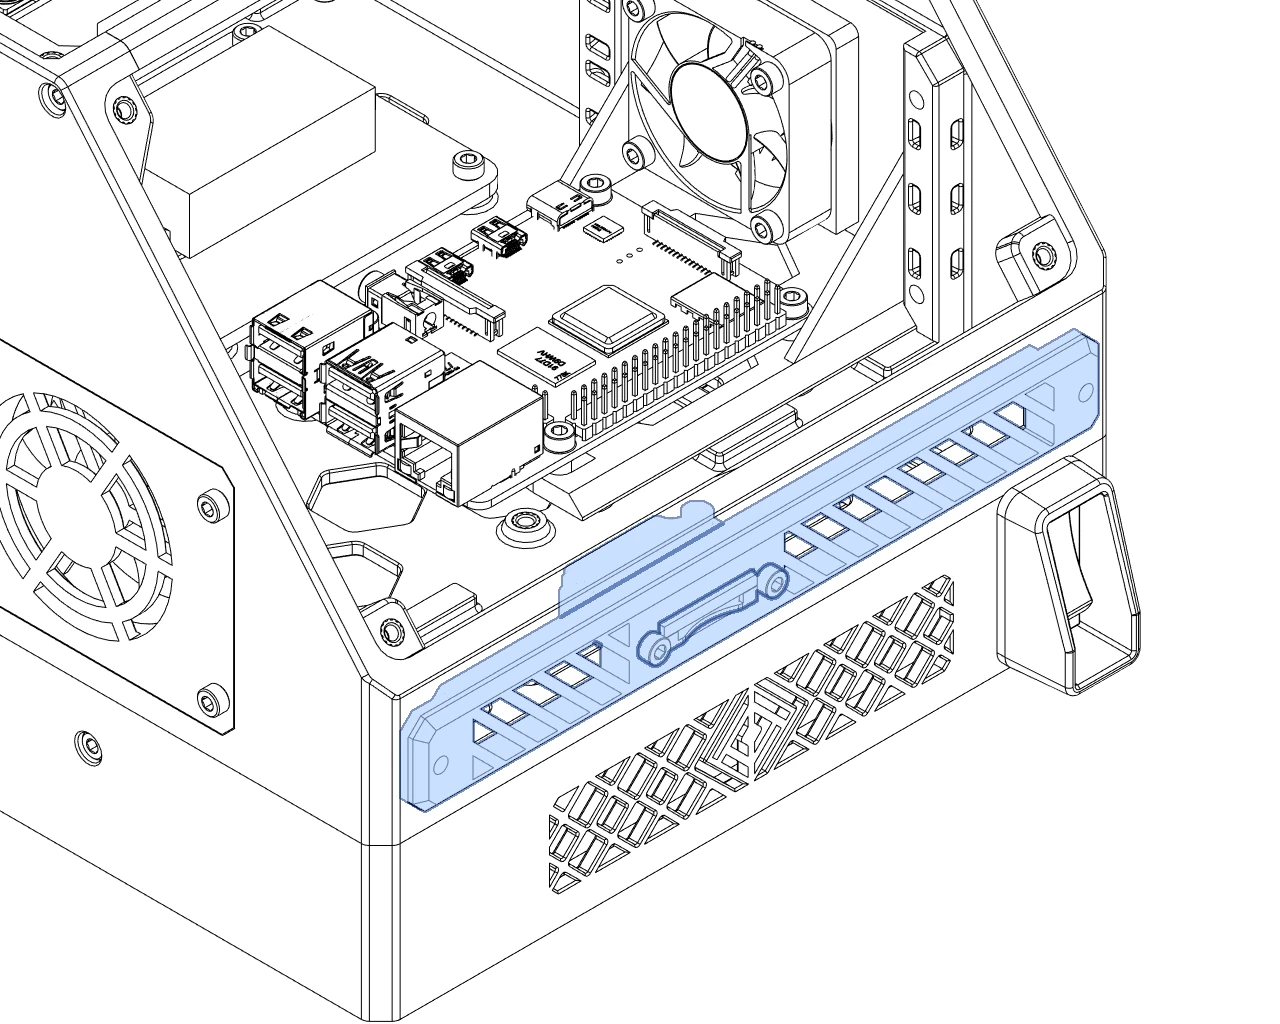
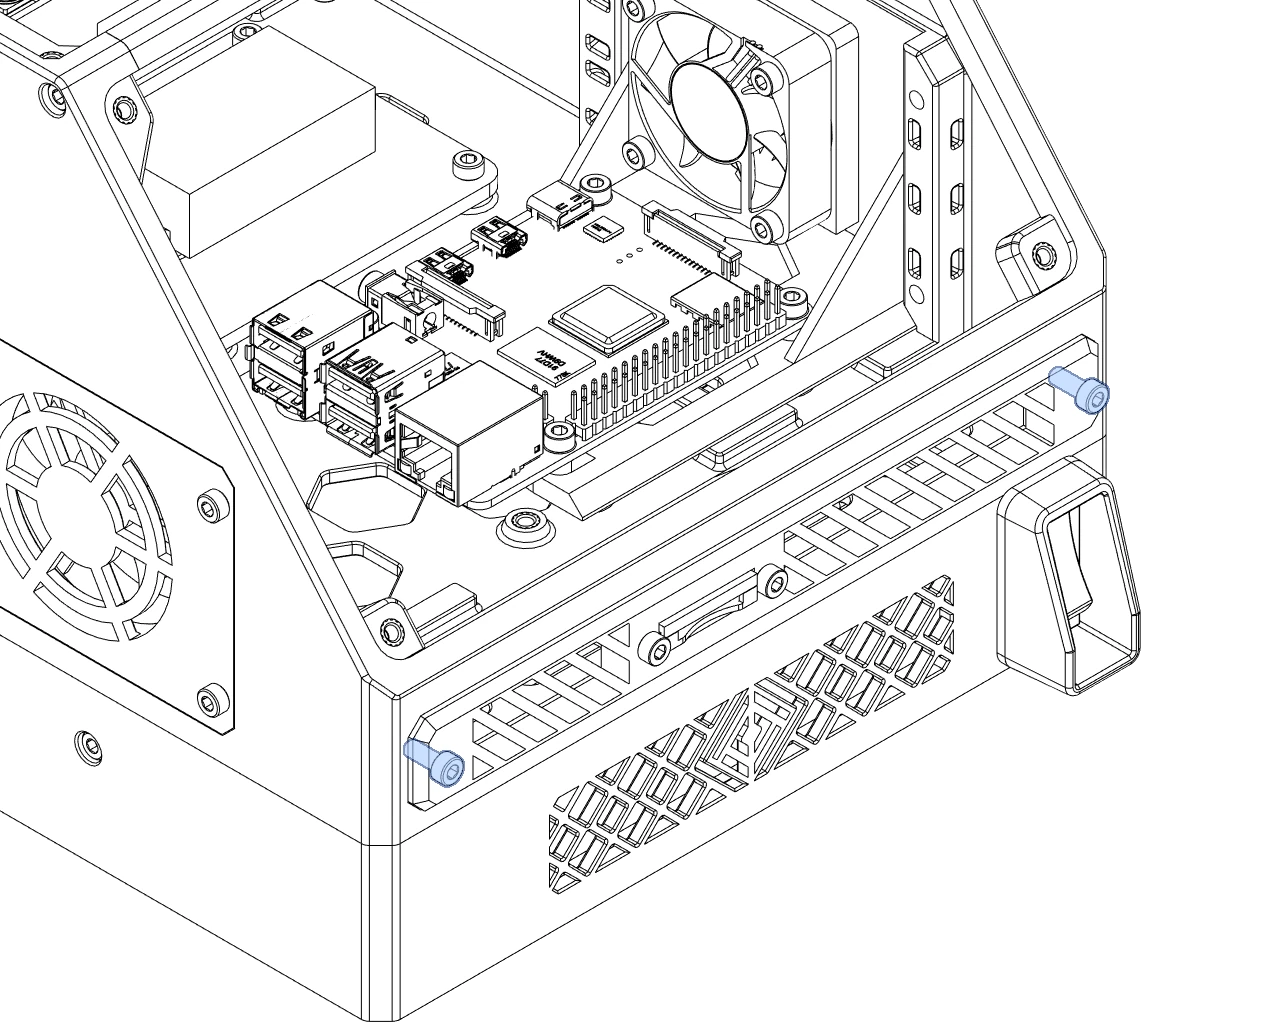
HSI: M3 x 8mm
Stock: M3 x 10mm
Reference
